How to make a magnifier!
Show kids the biodiversity beneath their feet with this easy magnifier craft...
There’s a whole world of life on the ground below us all the time – but it can be tricky for kids to stop and take notice. Use these simple instructions to help them build a magnifier to explore this important microhabitat…
How to use your magnifier
First, get kids used to the magnifier by looking through it with one eye, then the other, then both. (They should be looking through the outward curve of the lens.) Try holding the magnifier at various distances from their eyes to figure out what works best. Then encourage kids to get down on the ground to discover details they might miss by just walking around.
Use these observational prompts and activities to help children learn about biodiversity:
- – Name everything you see on the ground.
- – What do you see that’s surprising?
- – How many different types of plants can you spot? What’s different about them? Their patterns? Colours? Textures?
- – Can you follow something that crawls? Where does it go? What other critters does it pass on its journey?
- – Have children sketch their observations or write a poem or short story about the newly explored microhabitat beneath their feet.
Looking for other ways to get kids excited about nature? Sign up to Nat Geo Kids’ Family Newsletter for inspiring activities, news and more in your inbox every week.
Make a difference!
Now that kids understand that the ground is more than just dirt and grass, inspire them to protect it.
Here are some ideas…
- – If kids see litter, help them pick it up. Too much rubbish can prevent plants from growing and disturb critters’ homes.
- – If your family has been exploring a new area, clean your shoes afterwards. Seeds of non-native plants can track in on the soles, and those invasive species can push out native plants that keep the ecosystem healthy.
- – Kids might want to pick flowers to bring home, but teach them to pick only a few. Removing too many plants from a habitat robs critters of food and shelter. Natural plants also prevent erosion. The same goes for rocks or even fossils.
And when you’re finished with this craft, try something else! Make our eco-friendly slime or check out these 20 ways families can help save the Earth.
Written by Ella Schwartz. Photographs by Shannon Hibberd.
How to make a magnifier
THINGS YOU NEED
- Permanent marker
- Sturdy cardboard
- Scissors or craft knife
- Convex lens (e.g. from an old pair of reading glasses)
- Hot glue
- Pens, crayons, stickers and other crafty materials
What to do
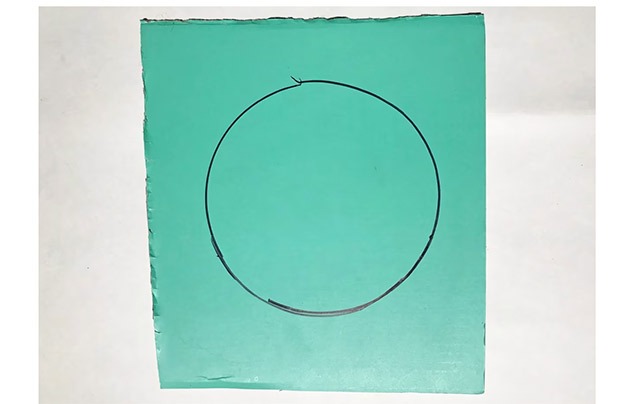
Step 1
Using the marker, draw a shape for your magnifier on the cardboard. It needs to be big enough to hold the lens. Think about circles, hexagons and diamonds.
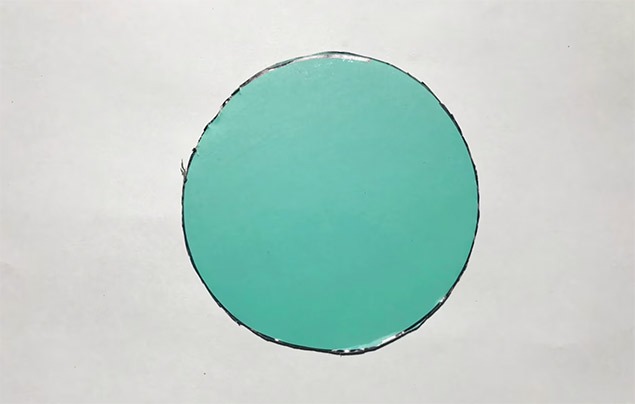
Step 2
Cut out the shape using scissors.
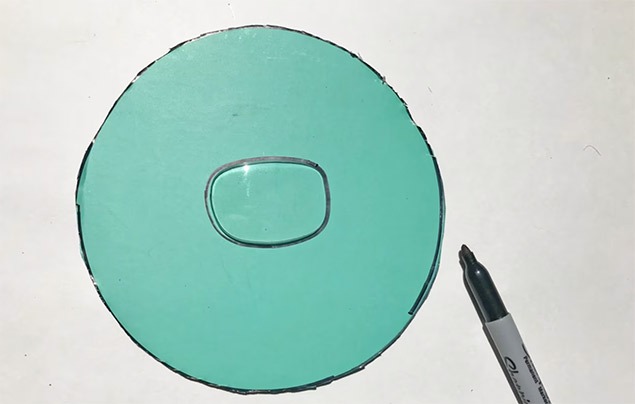
Step 3
Trace the lens in the centre of the cardboard frame.
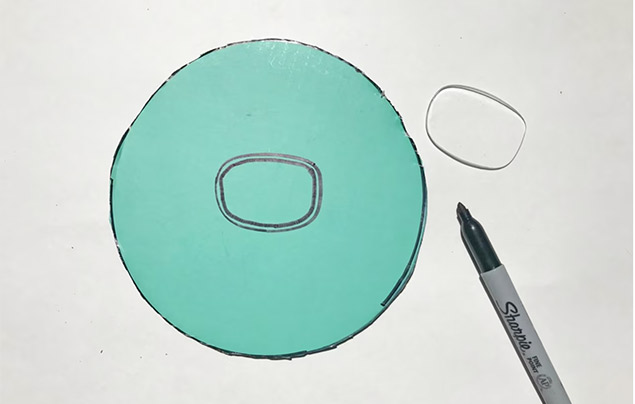
Step 4
Measure about 0.5-1cm inside the tracing, and draw a matching shape.
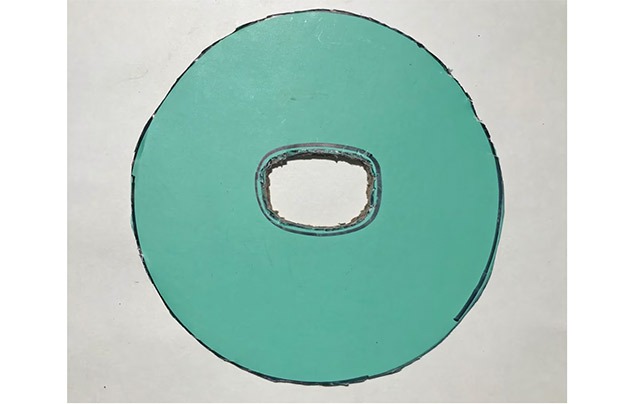
Step 5
Cut out the smaller lens shape from the cardboard.
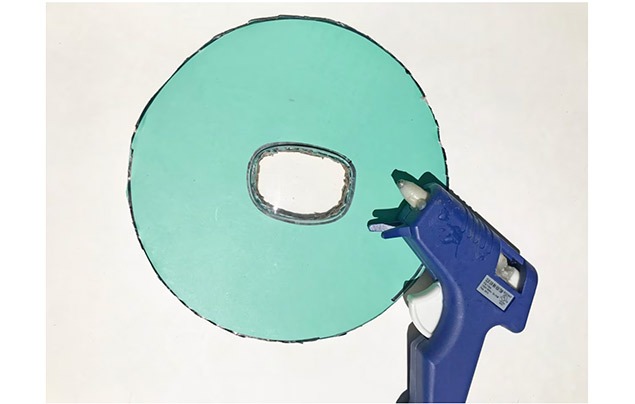
Step 6
Glue the lens onto the cardboard, aligned with the original lens shape you drew. The outward curve of the lens should be facing you.
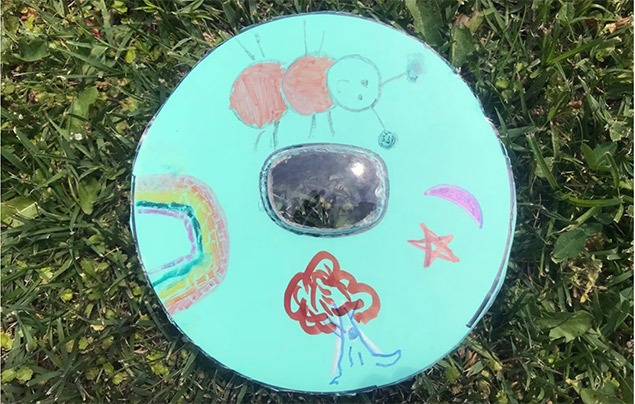
Step 7
Decorate your magnifier frame with the craft supplies. Then get observing!
Will you be making this simple magnifier? Let us know in the comments below!







LEAVE A COMMENT
THANK YOU
Your comment will be checked and approved shortly.
WELL DONE,
YOUR COMMENT
HAS BEEN ADDED!
COMMENTS
CUSTOMIZE YOUR AVATAR